In this post I will show you step by step how to serve images on a website from Azure CDN with SSL enabled. My blog has a couple of Azure API Management posts that I previously posted to LinkedIn. When I launched this website, I copied all these posts in here but kept the images in LinkedIn. My website is hosted on GitHub pages. I could have posted all the images also to GitHub and serve them directly from there, and everything would be work just fine. Well, since I work a lot with Azure, I thought it would be a great Idea to try out Azure Content Delivery Network (CDN) with SSL.
Agenda
- Create Azure Storage Account
- Create Azure CDN
- Create Custom Domain cdn.svenmalvik.com
- Enable SSL and create certificate
Create Azure Storage Account
We start by searching Storage Account from within the Azure portal, and click the Create button.
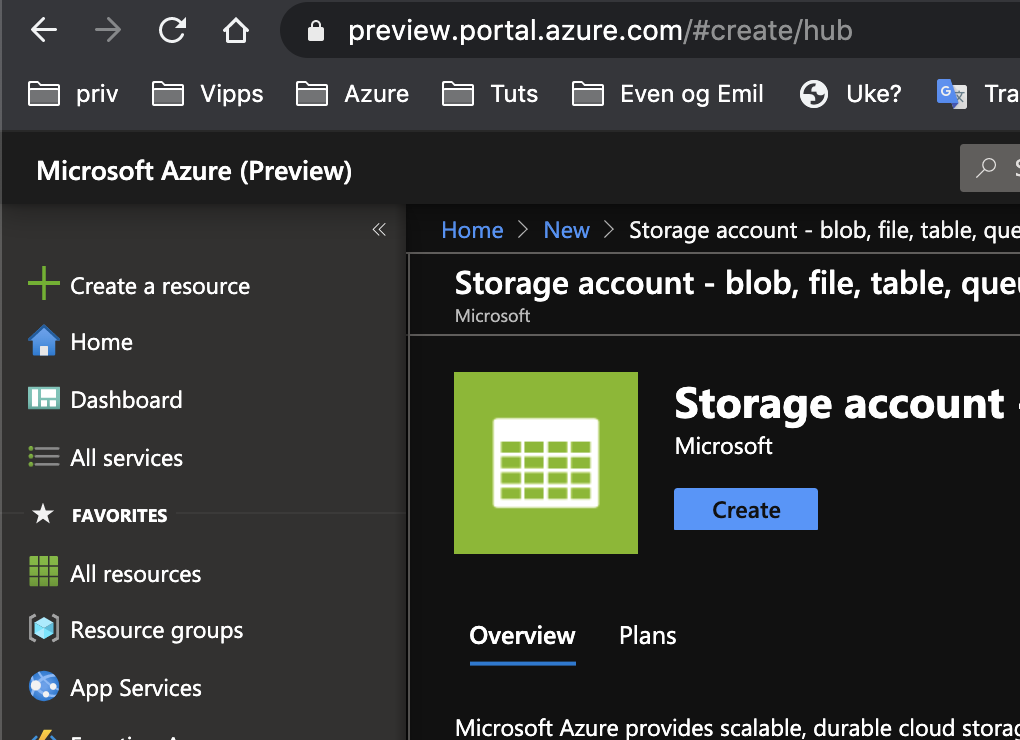 Create Azure Storage Account
I put the storage account in a new resource group called svenmalvikdotcom-rg so I can delete the entire resource group in case I change my mind later, and decide to keep the images at GitHub. I’m also unsure about how many visits this blog will have, and how the cost will be in a year. More about Azure CDN billing.
I also choose Storage V2 for images as recommended in the Azure Storage Account documentation.
NOTE: Microsoft recommends using a general-purpose v2 storage account.
I set the Access tier to cool since it is optimized for storing data that is infrequently accessed, like this blog :smile:.
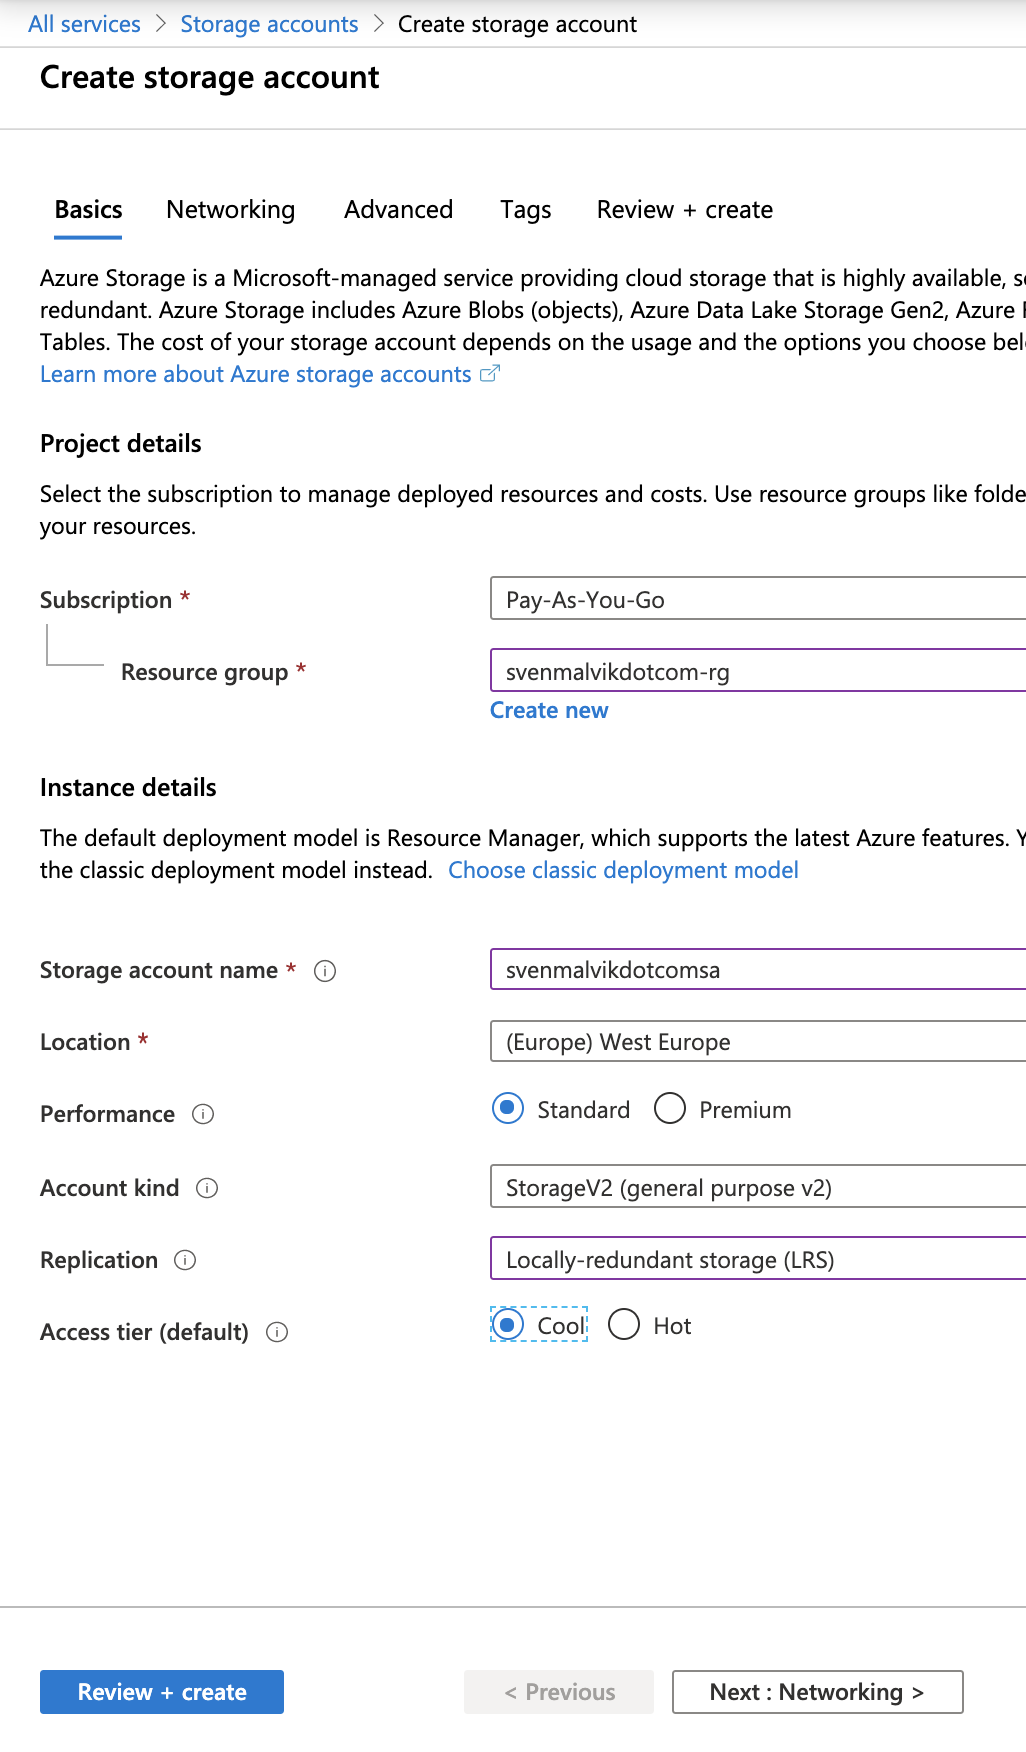 Create Azure Storage Account Basics
In the Networking-section I choose Public endpoint (all networks) because I want my images access directly from this website. In case I’d chosen Private endpoint, I would need to put a public available service like Application Gateway or Front door in front.
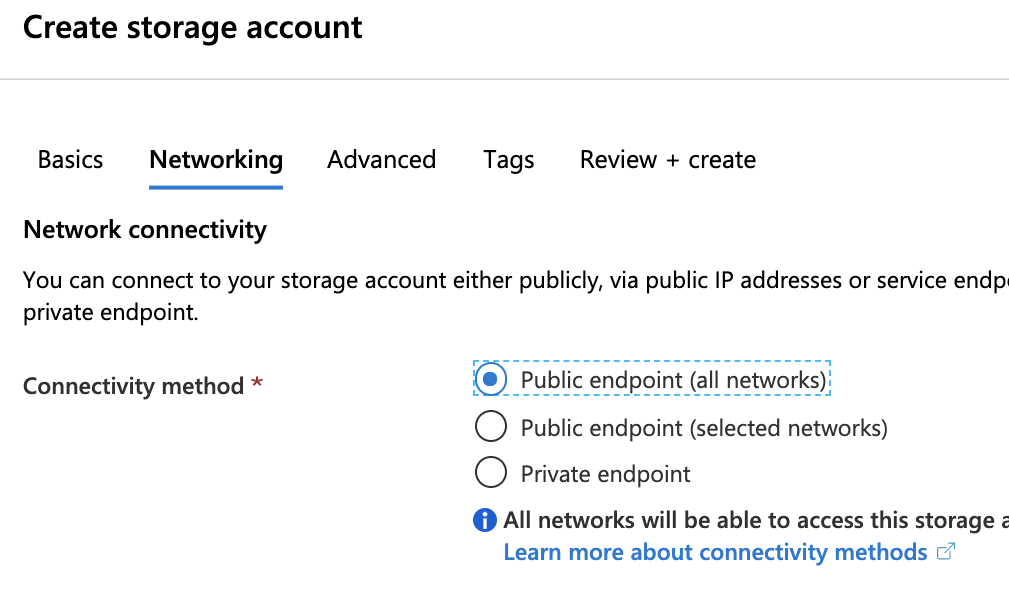 Create Azure Storage Account Networking
Now that we have a Storage Account, the next thing is to create a container where we put all images. I could have chosen Blob, but since I’m not sure if I also will put static pages there, I choose Container that is accessible by anybody.
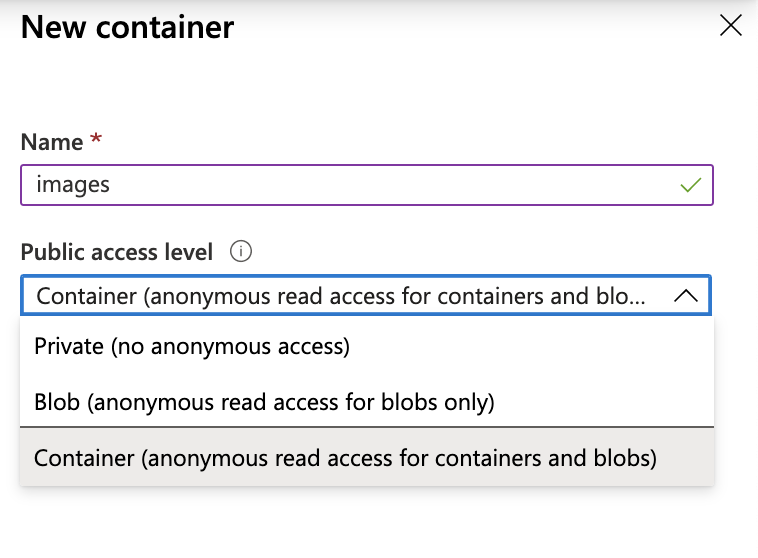 Azure Storage Account Container
I can now upload my images, and have them publicly available and ready to use. The overview of the storage account gives us the endpoint for retrieving the images.
 Azure Storage Account Images
Create Azure CDN
Azure storage account is a great place for storing my images, but not so great for serving them globally from a websites where performance matters and where user experience is everything. I chose to try Azure Content Delivery Network (CDN) that reduces load time, save bandwidth, and speed responsiveness.
From the menu in the storage account, we can click on Azure CDN and fill out the fields as suggested. There are 3 parameters that are interesting.
Pricing tier: I selected “Standard Microsoft” because it seems to have better a more advanced rules engine. Compare Azure CDN product features
CDN endpoint name: It’s the host for accessing the images. We will later create a CNAME that will point to this address.Origin hostname: The address where your images live. This field has already the correct value, if you added the CDN from the menu in the storage account.
 Create Azure CDN
After some minutes we can try to retrieve an image from the storage account via Azure CDN. We use the <CDN endpoint name>.azureedge.net<PATH TO IMAGE IN STORAGE ACCOUNT>.
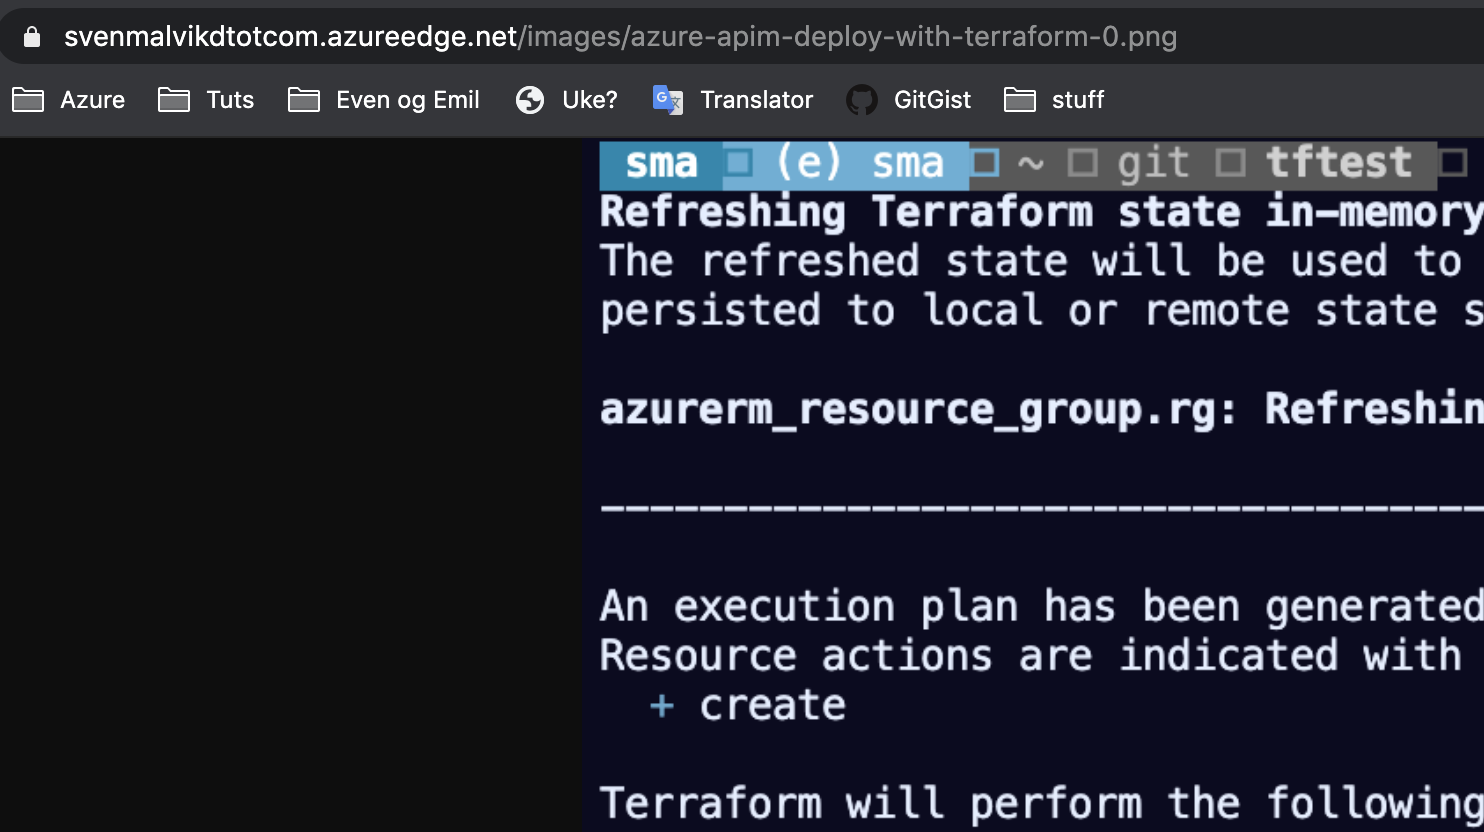 Azure CDN Image request
Create Custom Domain
The endpoint we just used to retrieve the image can at some point change. I might later choose to put the images at another place, simply because there are other services that are better suited for my purpose. To have this possibility later, I will create the custom domain cdn.svenmalvik.com for retrieving my images.
First, I create a CNAME entry in the portal of my domain provider and point it to my newly created CDN endpoint.
 CNAME to CDN
We will now create a custom domain from the CDN endpoint menu and fill in the CNAME we just created.
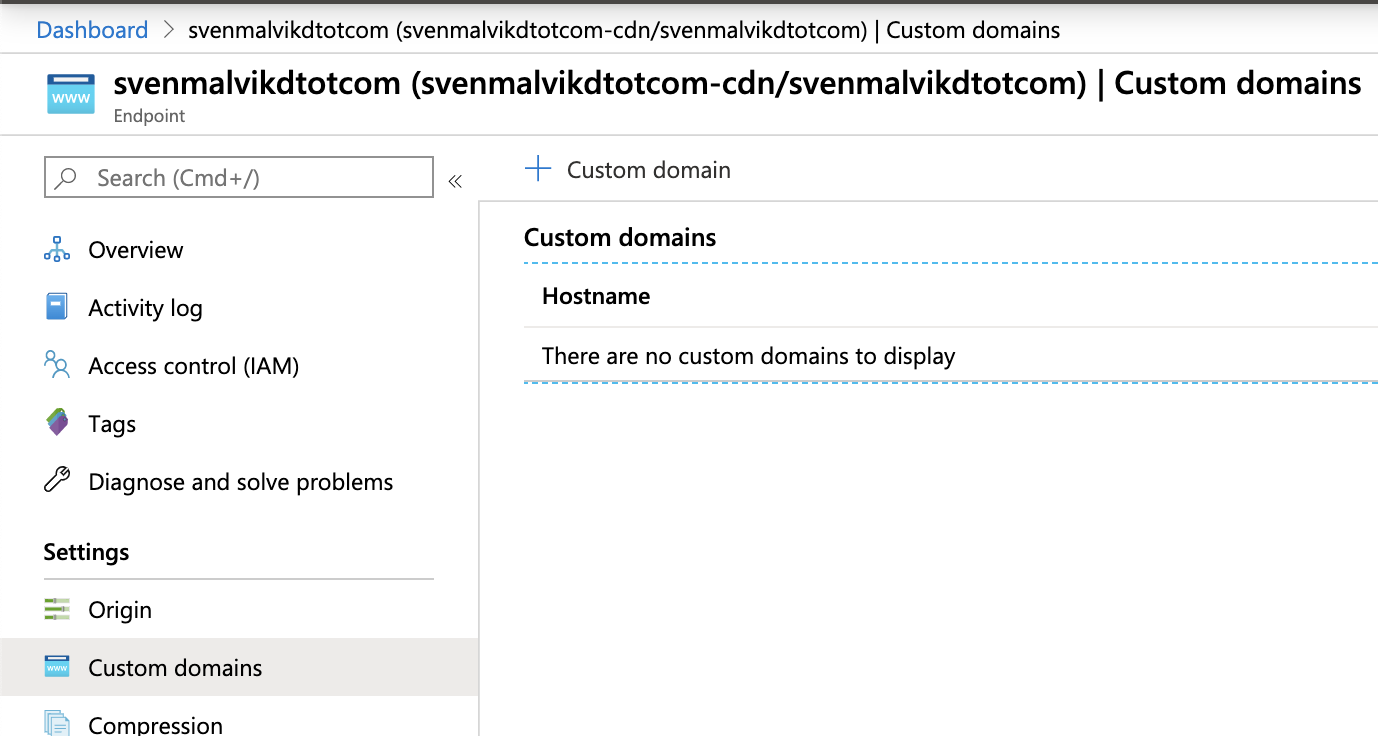 Azure CDN Custom Domain
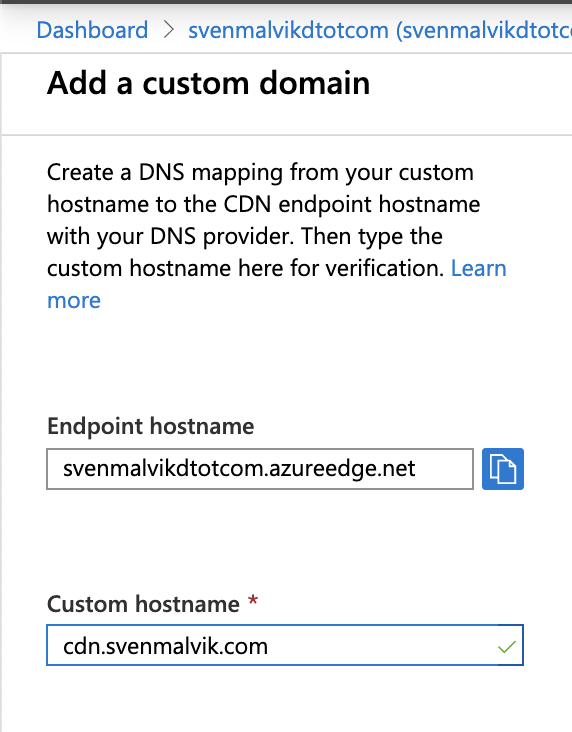 Add Azure CDN Custom Domain
We also set Custom domains HTTPS to On and choose CDN managed. Azure partnered with DigiCert which means that we get certificates for free. We know that nothing is free, and that the costs are baked into the usage of CDN. Anyway, it makes it very simple for us to enable SSL.
This process takes a while to finish. In my case it took about an hour.
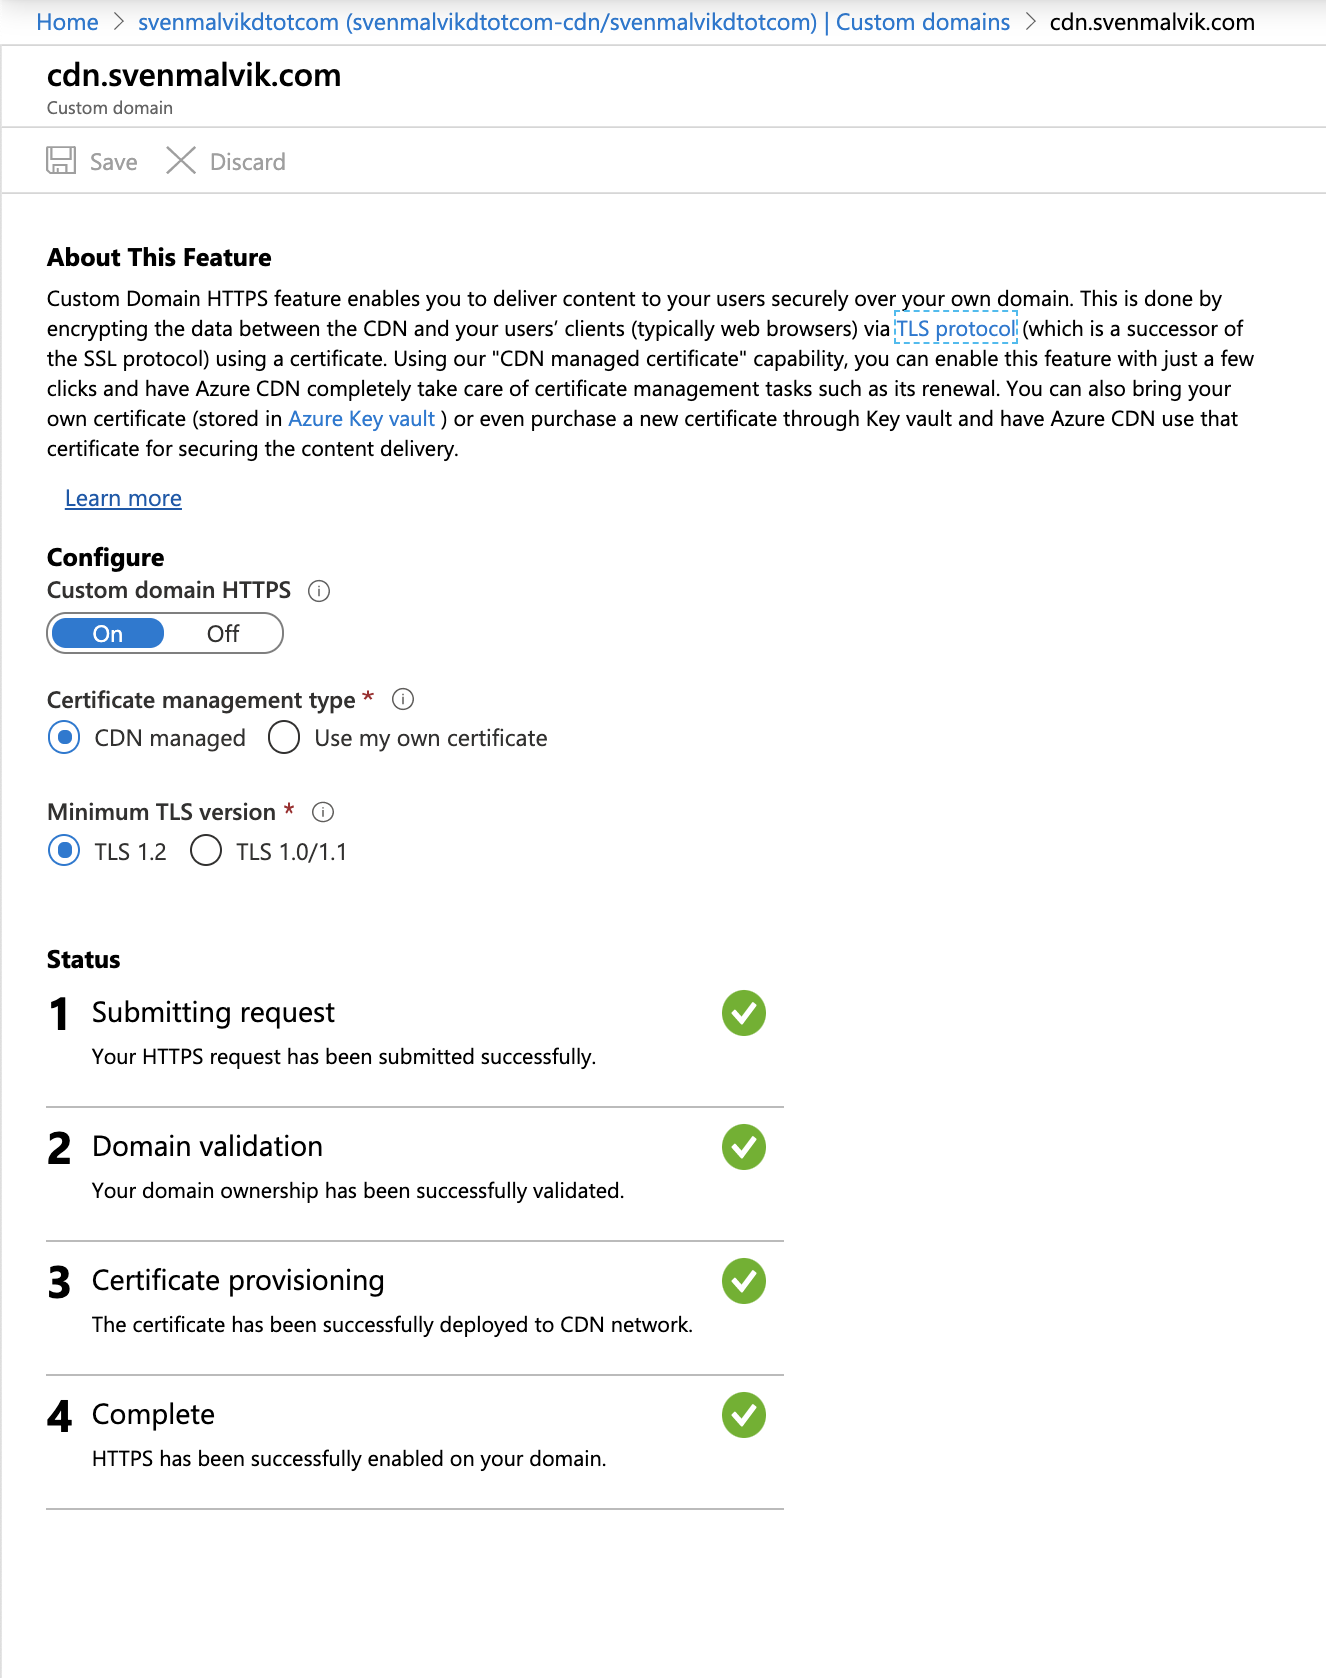 Request SSL Certificate for Azure CDN Custom Domain
We can now test to retrieve the image with https.
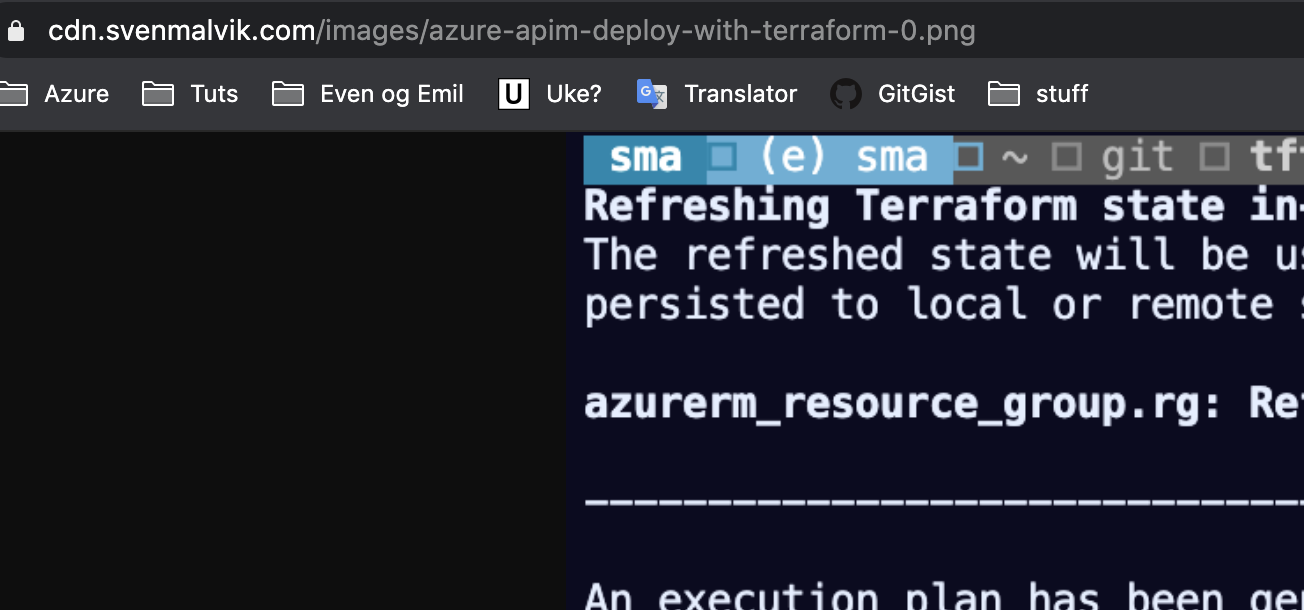 Secure Image Request from Azure CDN
Now that everything works, we can change all URLs in on all websites. In case you wonder about the code, I use Jekyll that renders Markdown files to html files.
 Changing website code
Finally, we can test the website and check that the images get fetched from the CDN with SSL enabled.
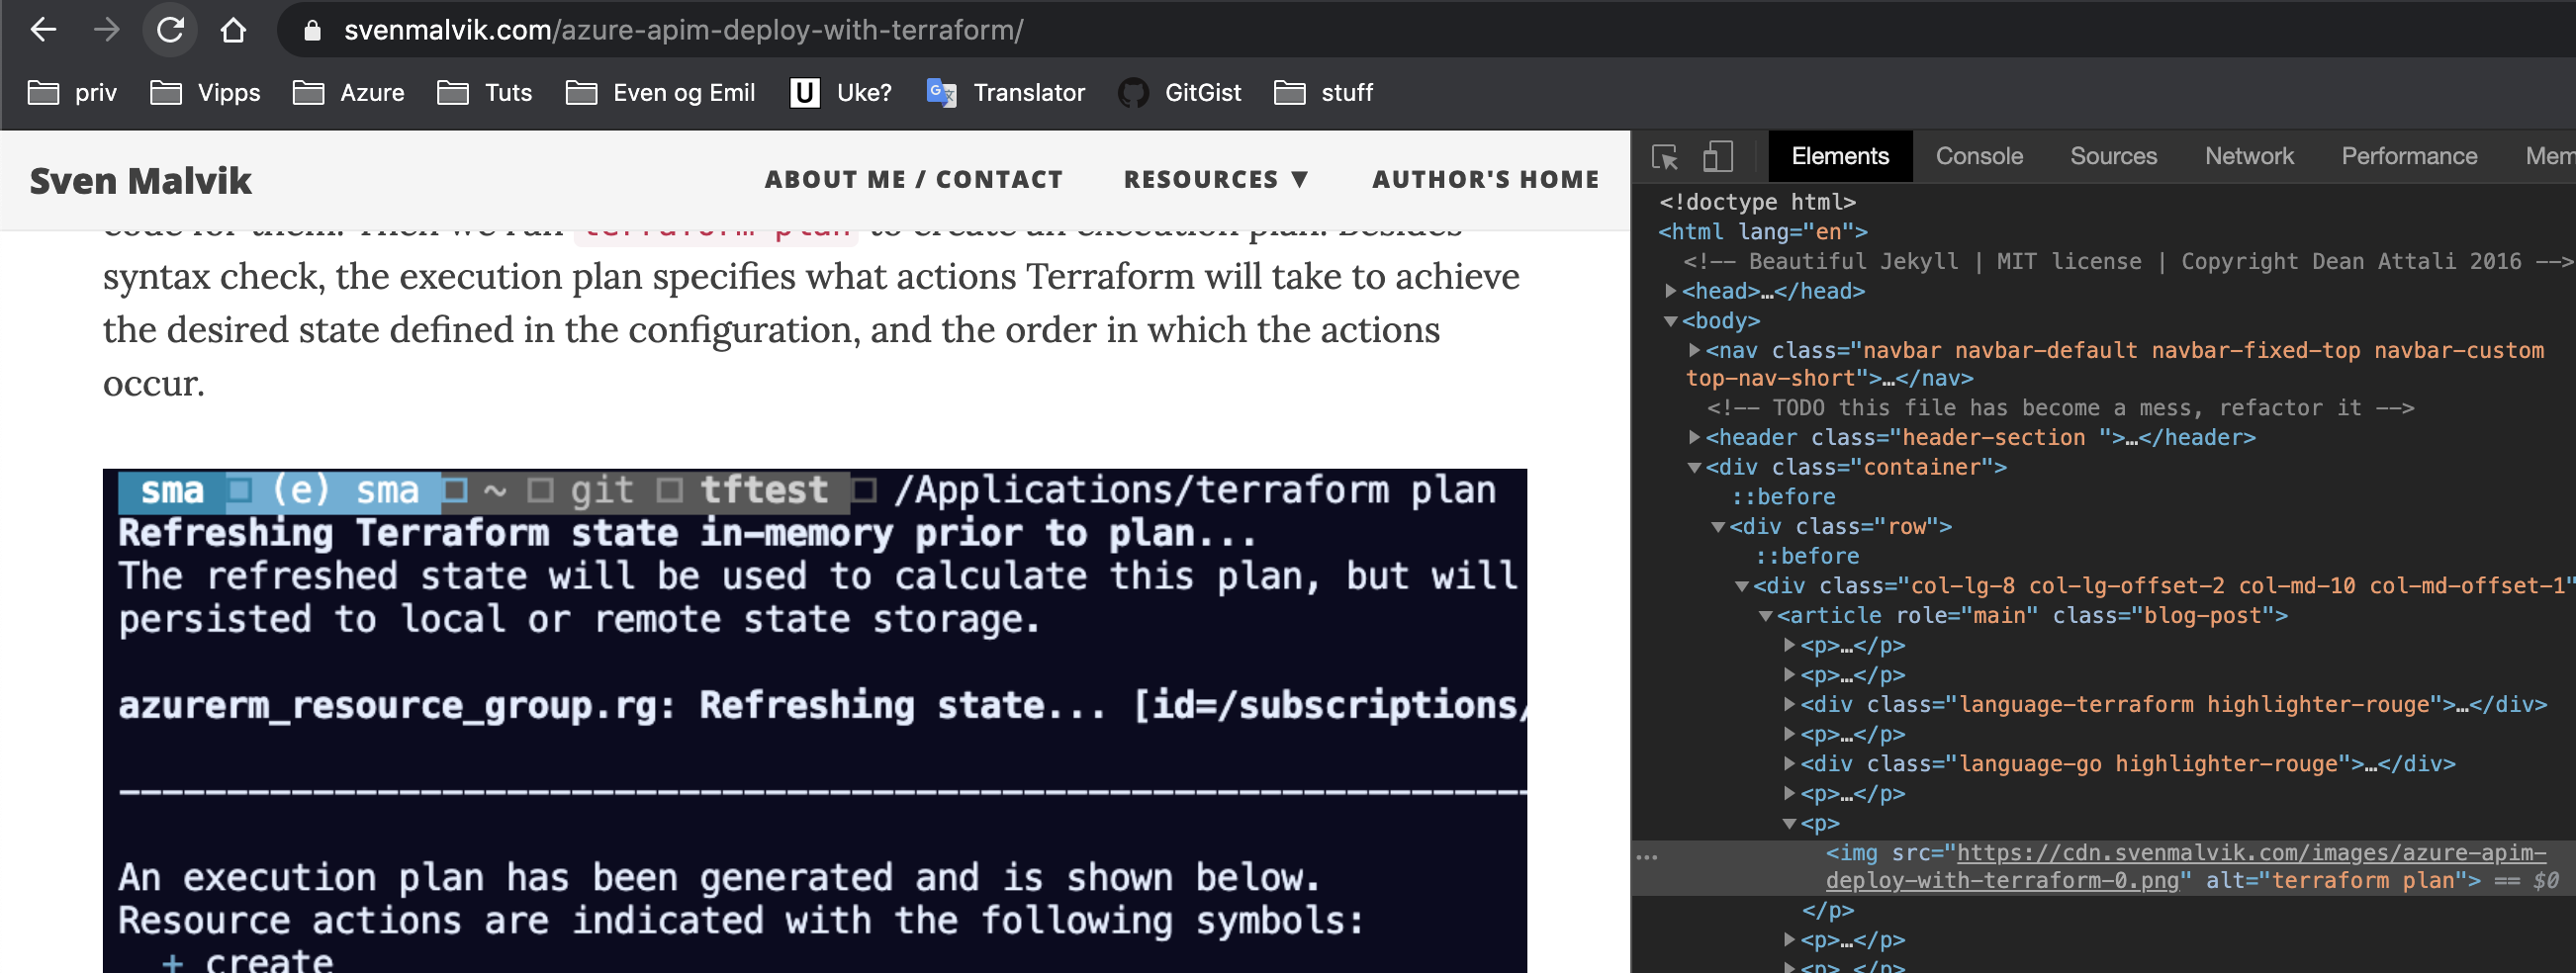 svenmalvik.com image in browser
Conclusion
I showed how to use Azure CDN with SSL enabled for retrieving images from a website. I did everything from the portal which of course is not the way it should be done. If you have some experience with Azure CLI, PowerShell or ARM, you should use one of them instead to fully automate the steps.
 Sven Malvik


