This episode is about the Azure Backup Service, and how we can restore a virtual machine. I have already a Windows Server 2016 Datacenter VM created, so we will continue from there and create a file, run a backup, and then restore the file system. Azure Backup Service is part of the AZ-303 exam for becoming an Azure Solution Architect.
Watch Azure Backup Service in preparation for the AZ-303 exam
Make sure you have a Windows Server up and running. Go first into the overview of the VM and open the menu. You will find Backup there.
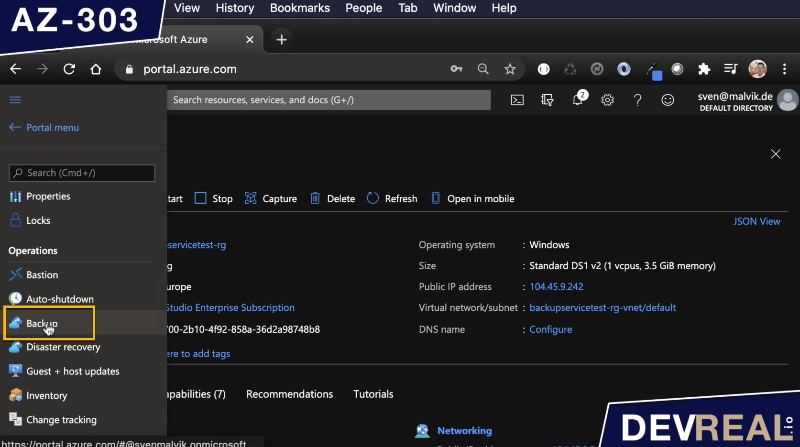 Backup of VM in Azure Portal
The first you will be asked is to provide a Recovery Service Vault. If you don’t have one, you can create it from here. When I did this, I had some issues later, and I had to create a new VM and use the Recovery Service Vault that I created before. The same happened to others as well, just so you know. Next, click on Create a new policy.
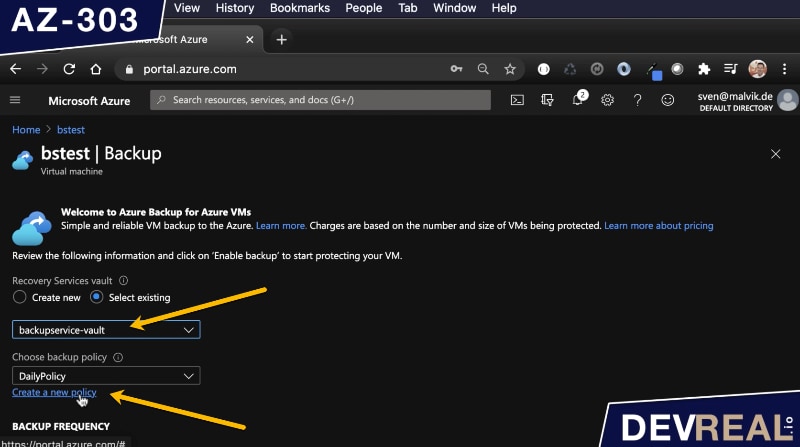 Recovery Service Vault
In this pane you can set up when you want Azure to take a backup of your VM, daily or weekly and what time. You can now specify the retention of backup points, weekly, monthly, or yearly.
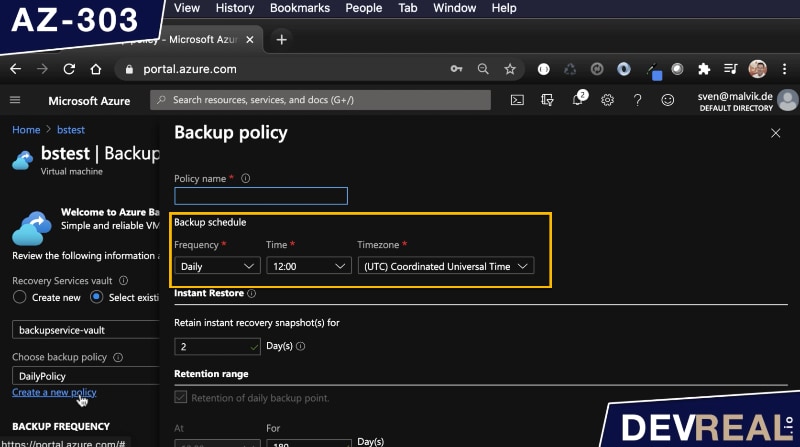 Backup Schedule of VM
Let’s now login to the Windows Server first. I got a public IP address, so I won’t use Azure Bastion as I usually do.
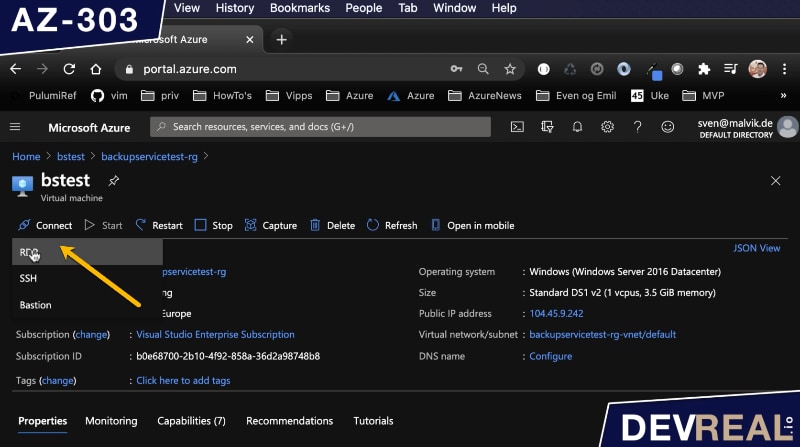 Login to Windows Server VM
I open the file explorer and create a text file that I name Test. My goal is to restore this file later after I have deleted it.
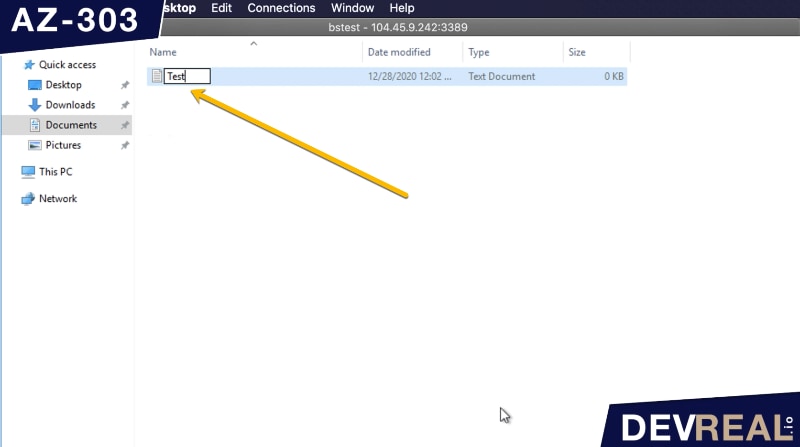 Create file
I have opened the Azure portal from within the Windows Server because we will soon install a tool that we will download from here. But first I clicked on Backup in the menu of the VM and hit on Backup now.
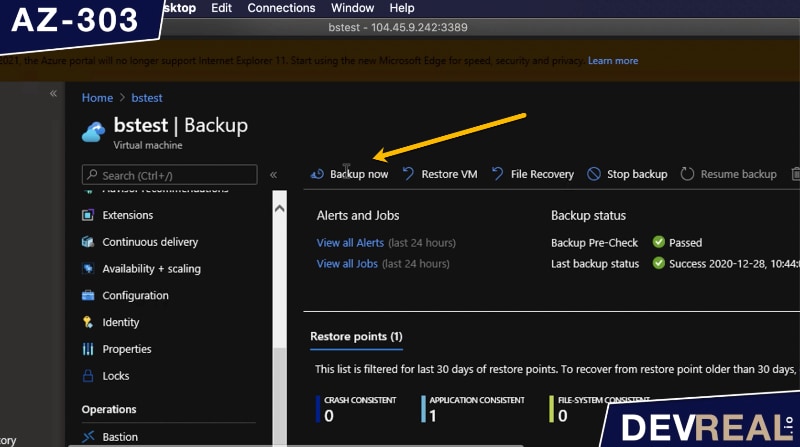 Backup VM in Azure
You will get asked for how long you need the backup. I stick to the default.
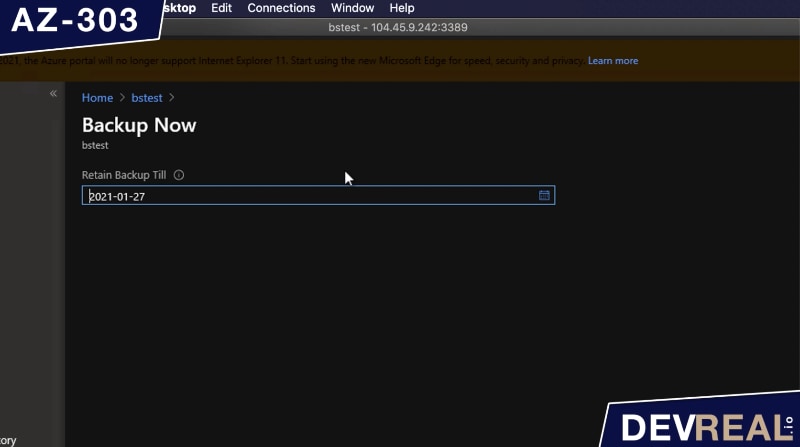 Retention time of VM backup
Just to show you that the backup is in progress. I clicked on View all jobs which you also find under the Backup-menu.
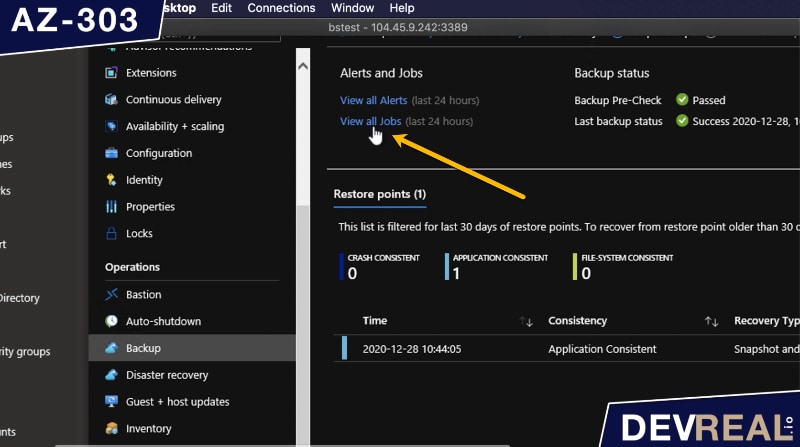 View all jobs in VM backup
We see that the backup is on its way. The backup took about an hour, and I didn’t install anything there, I just created a file.
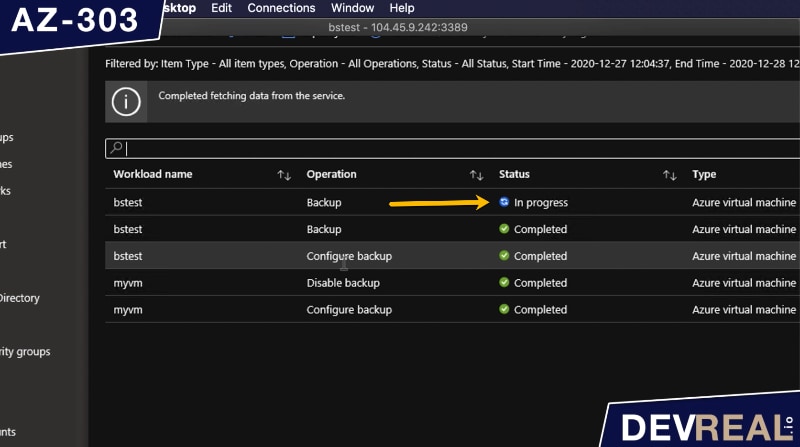 Backup of VM in progress
Let’s now switch back to the Windows Server, and into the file explorer to delete the file I just created. We want to restore the file-system and see if we get the file back.
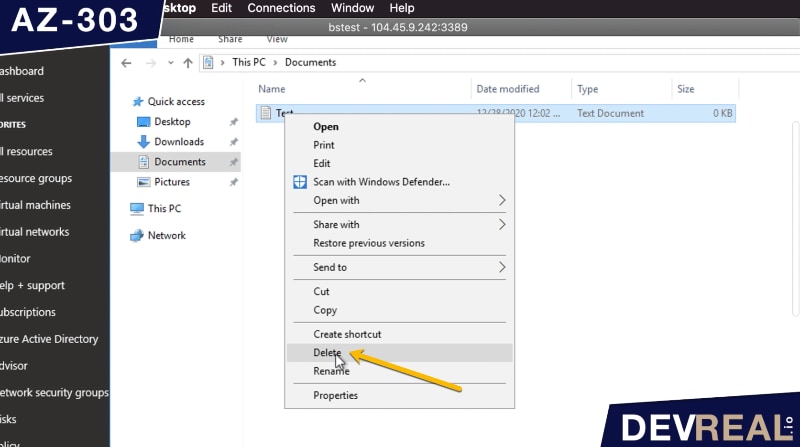 Delete a text file in Windows
I’m back in the portal, and ready for running a file recovery.
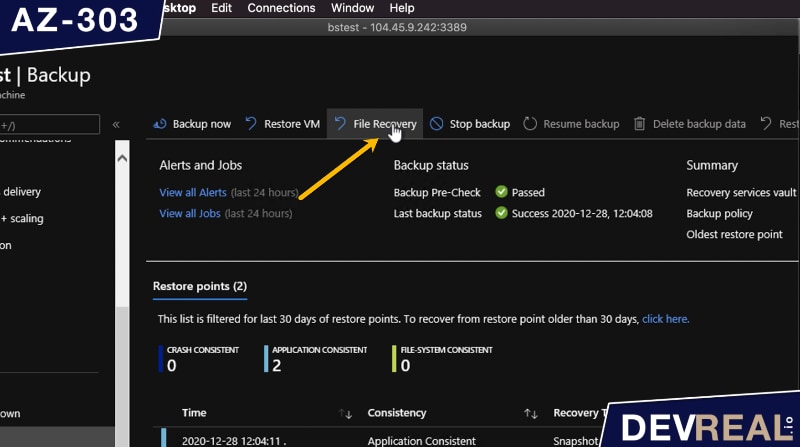 File recovery in Azure
We get asked about what recovery point we would like to restore. As we just have one, the choice is easy. Then we click on Download Executable. This takes about a minute. It’s not only an executable we get, but also a password that we need to run the executable.
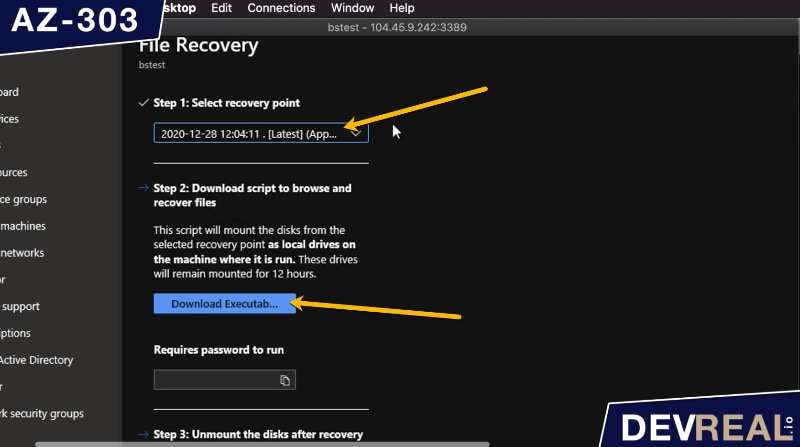 Download executable for file recovery
Once ready, we click on Download, and copy the password.
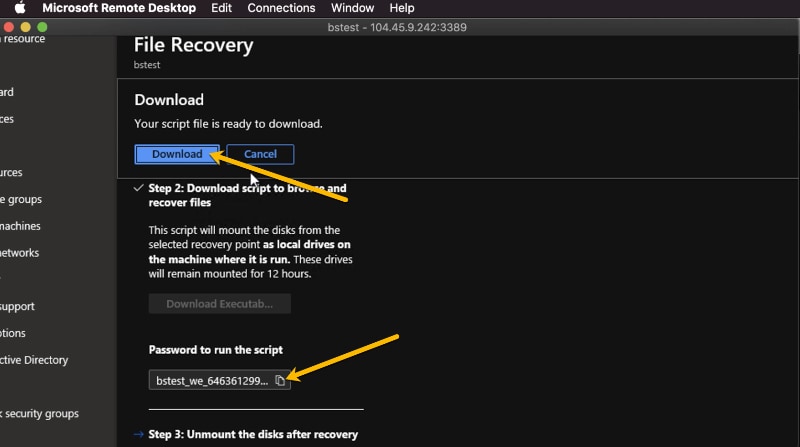 Download, and copy the password
The executable we reside in the Downloads-folder of the VM. Double-click to run.
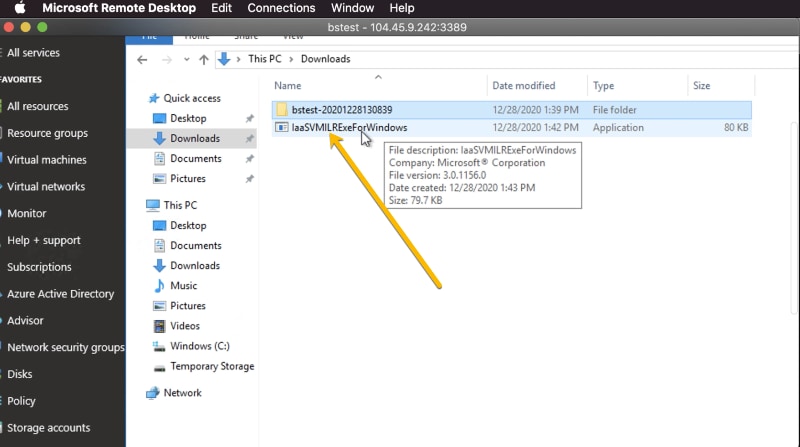 Run the installation
Use now the password you copied.
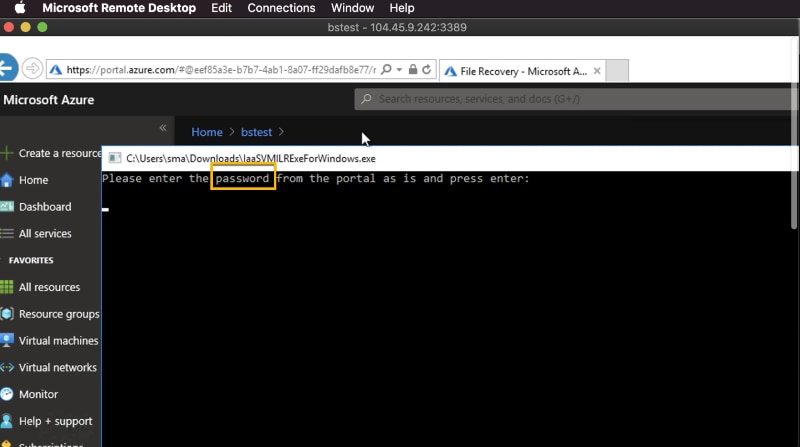 Proceed with installation
A PowerShell window opens, and tell you to wait a moment. Once finished, we get two new drives.
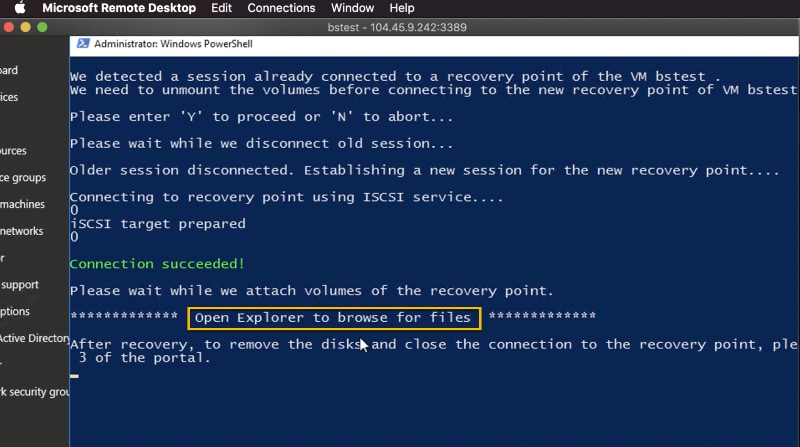 PowerShell runs the installation
So, we got two drives. One is reserved for the installation process, and the other (G:) has the restored file-system which includes the file we created and deleted.
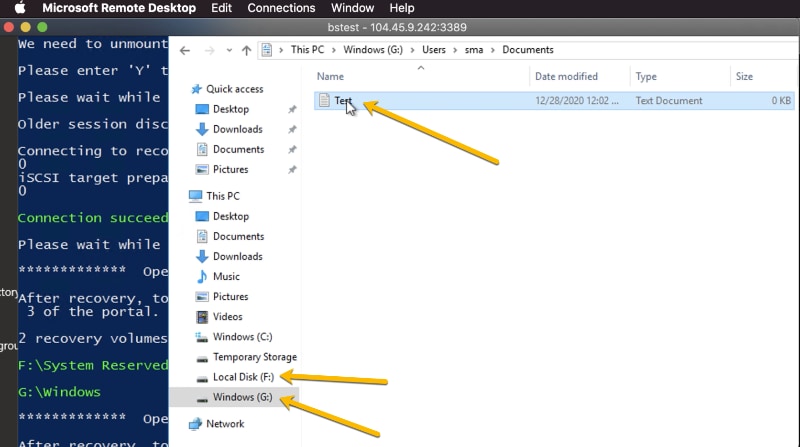 File recovery mounted two new drives
 Sven Malvik





 Azure Friday in Pictures #1