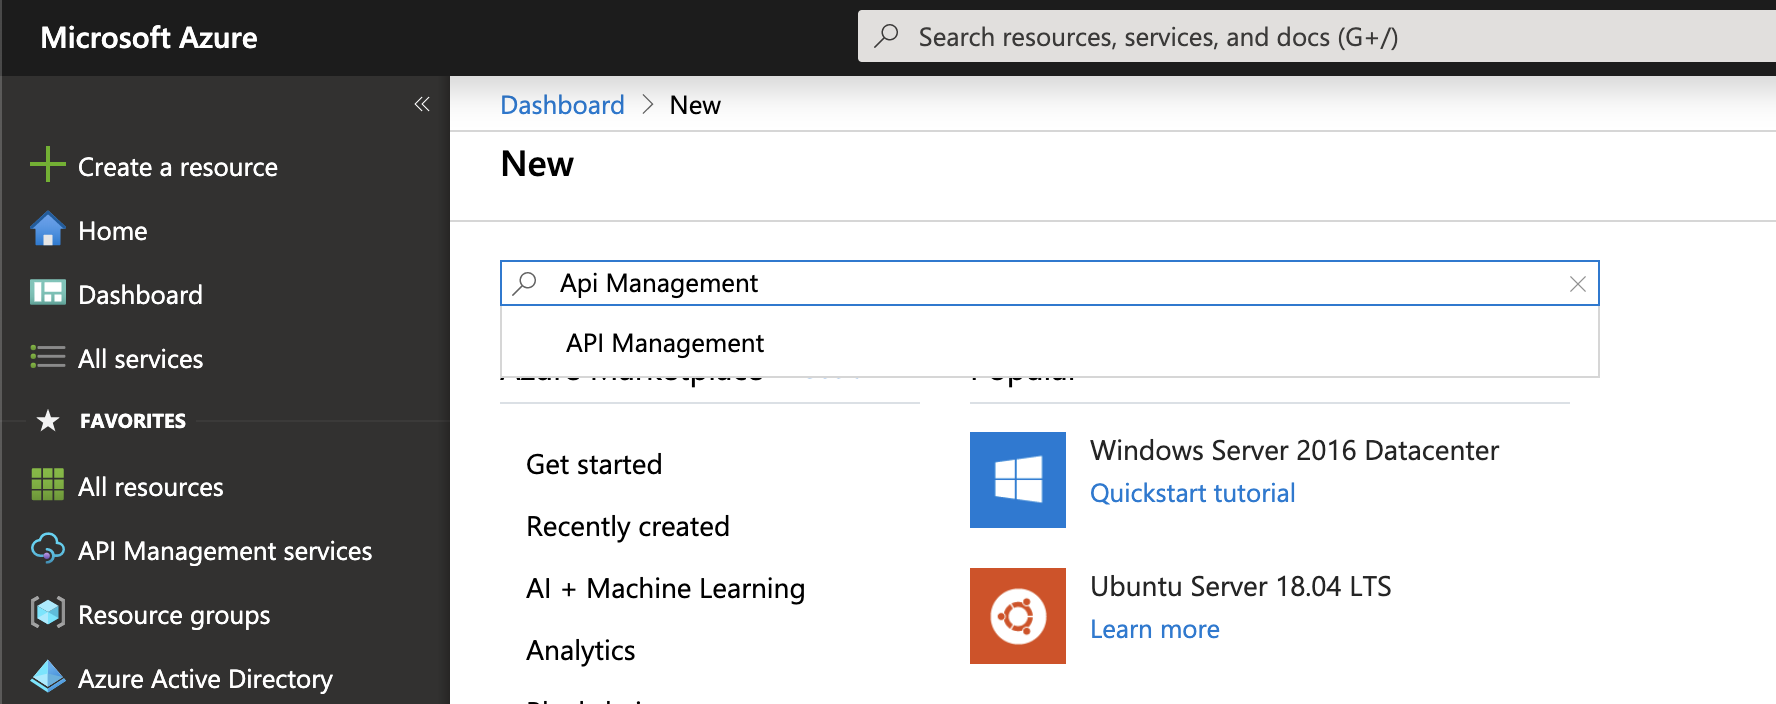
This post will start to discuss provisioning API Management. The simplest way of doing so is simply by signing into the portal and create it - we’ll do so in a minute - but this is not the only way we can and should provision API Management. There are other ways that are more effective depending on your environment. Before we can do all this, we need first take a look at some key parameters when creating an instance.
Explain those API-M parameters that are key.
The most important parameter you need to set when provisioning API-M is the type of instance you want to provision, SKU. SKU stands for Stock Keeping Unit. There are 5 different SKUs to choose of.
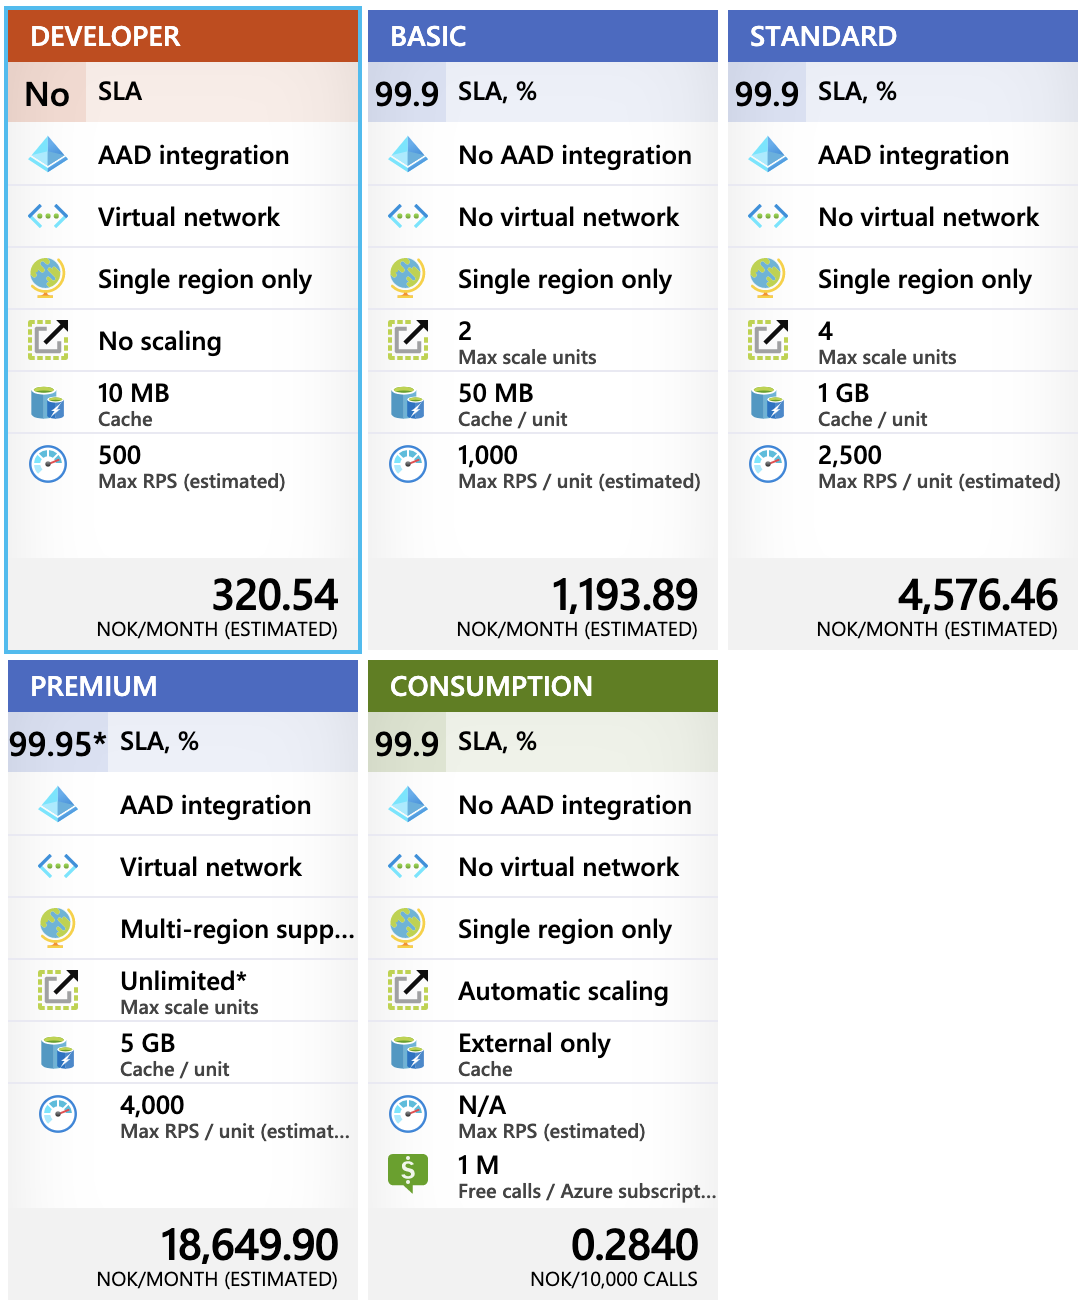 Azure API Management SKU
Developer and Premium are pretty similar. Both can be put into an own private virtual network. It means we can set up a network security group and filter network traffic based on rules we set. We could for example say that we only allow traffic from another defined virtual network where an Application Gateway lives. We will talk about this service later, but in short, it is a load balancer operating on layer-7 with a public ip address. The main differences between those two SKUs is the capacity and the scaling option. Scaling is missing in the developer SKU -why would we need that :)
Basic and Standard are also similar to each other -besides the capacity. What the basic SKU is missing is AAD integration. AAD stands for Azure Active Directory which is Microsoft’s cloud-based identity and access management service. It helps your employees to sign in and access resources.
The newest SKU is Consumption which is a pretty good type when developing on your own. It runs on a shared infrastructure. It’s really nice for trying out your APIs for example where we pay only per request. Since it’s a shared type, provisioning takes only a few minutes compared to the other SKUs where we can watch an entire one hour conference-talk while waiting. But the real benefit comes in production in case where you have to handle spikes. Azure API Management will scale for you. It’s the perfect plan for low traffic APIs that might handle high-traffic sometimes.
What does Capacity mean in this context?
Capacity is an indicator of load on an API Management instance. It reflects resources usage (CPU, memory) and network queue lengths. It’s an important metric that you must keep an eye on in the Azure Monitor. The default value when provisioning is “1” unit of the chosen SKU, so you might consider more units for production. It really depends on your load. If this metric shows a value above 60% load over approximately 30 minutes, Microsoft recommends to consider to scale up. This can take up to 45 minutes.
What about the other parameters?
Name, Location, Organization, ResourceGroupName, Tag and some more are self explaining. But there are a few more like VirtualNetwork, AssignIdentity and CustomHostnameConfiguration that are interesting, and we will discuss all of them in detail in a later post. We ignore them for now and configure them later.
Conclusion
We got all the parameters we need to for provisioning an API-M instance. SKU was the most important parameter, the default is Developer which is a bit more expensive than Consumption. In the next post, we will provision an instance in 3 different ways and discuss advantages and disadvantages before we start to do some exciting stuff with it.
 Sven Malvik