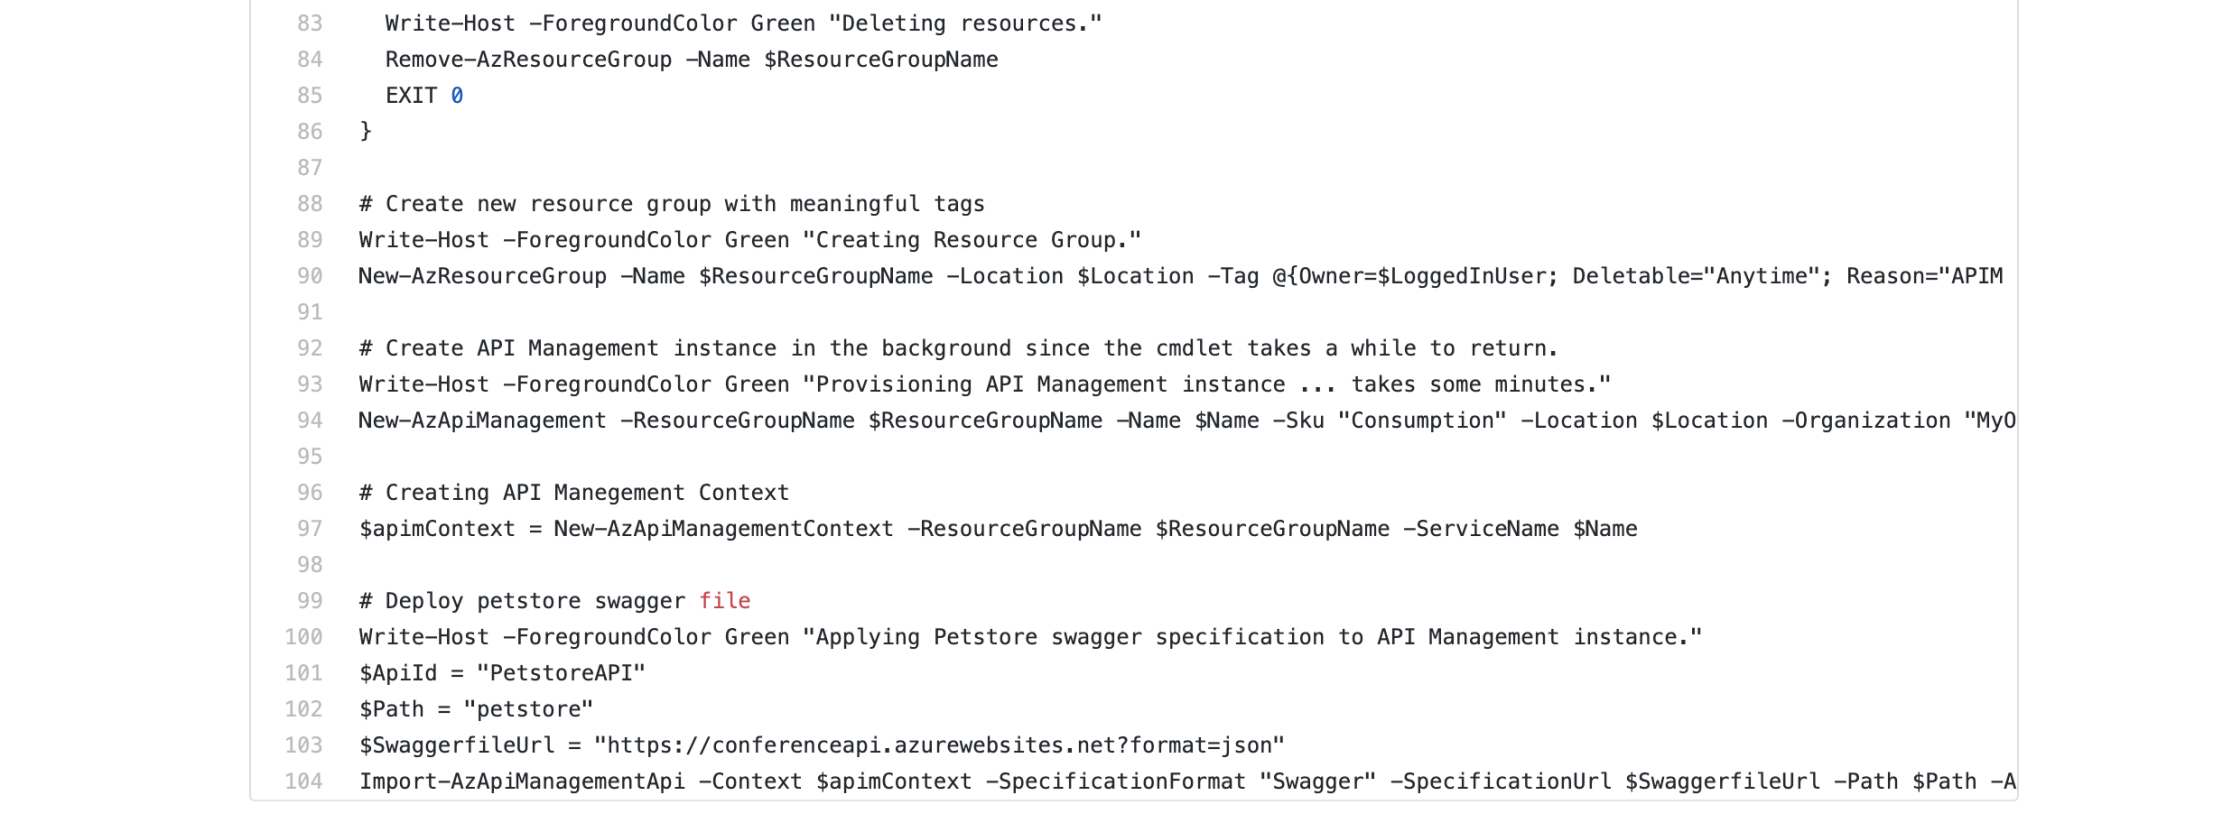
We use a lot of PowerShell to provision the Azure infrastructure that powers Vipps AS today. PowerShell is actually a great choice for using working with APIM since it great supported. The PowerShell for Azure is actually using the REST API, so you can expect to get the same support. In case you would like to see the REST API in action for provisioning API Management, you can follow the link. I will use PowerShell to provision an instance of API Management today.
Let’s start by connecting to our Azure account by executing this PowerShell code:
Connect-AzAccount -SubscriptionId "<SUBSCRIPTION_ID>" -Tenant "<TENANT_ID>"
You will be redirected to Microsoft within your browser to login. When everything is correct, you can proceed in your PowerShell editor.
Whenever we provision a resource, we need to add it to a resource group. In case you didn’t create one previously, you run this code:
New-AzResourceGroup -Name "apim-rg" -Location "West Europe"
It’s always a good idea to tag your resources. We’ll cover this in a later post.
Deploying API Management
Now it’s time to deploy an instance by executing this PowerShell code:
New-AzApiManagement -ResourceGroupName "apim-rg" -Name "apim-service" -Location "West Europe" -Organization "<ORGANIZATION>" -AdminEmail "sven@malvik.de"
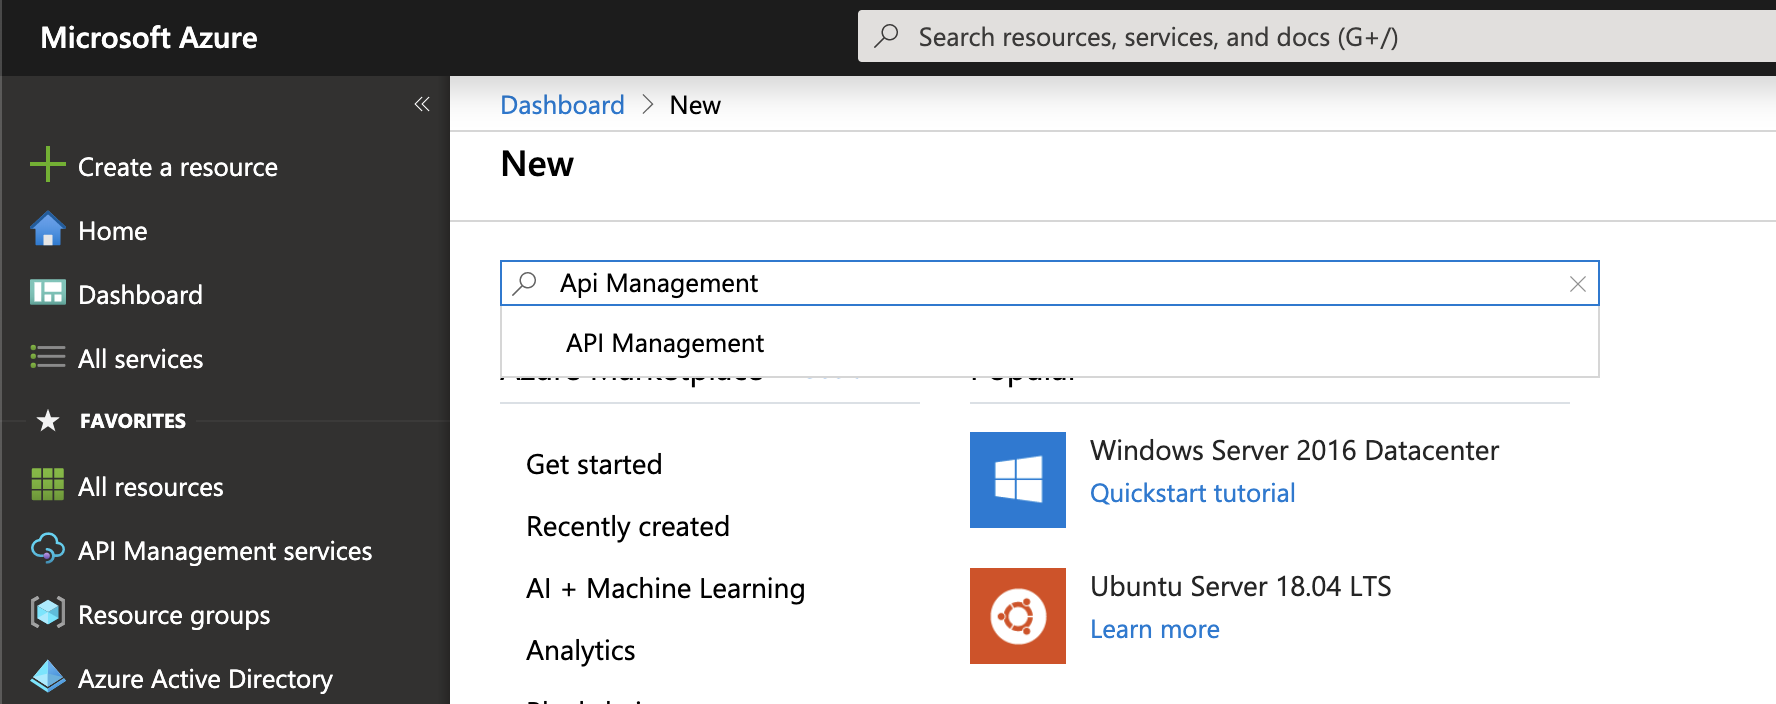
The deployment takes about 2 minutes. In case we’d deployed with SKU Developer, we’d need to wait up to an hour. You can verify this by going into your portal and navigate to your new instance.
Importing an API
It’s not part of this post, but I really want to show it because it’s very simple as well. What you need is a Swagger-file. There are many other options of creating an API, but that is part of a later post as well. I will use the public available Conference API and put the link to it in a variable.
$SwaggerfileUrl = "https://conferenceapi.azurewebsites.net?format=json"
We need to create a context. We are basically telling what instance of APIM we want to use. Specify the resource group and the name of your instance.
$apimContext = New-AzApiManagementContext -ResourceGroupName "apim-rg" -ServiceName "apim-service"
Finally, we can import the API by defining the url of our swagger file, a path that a request will use to reach the API, and an ApiId that you can choose yourself.
Import-AzApiManagementApi -Context $apimContext -SpecificationFormat "Swagger" -SpecificationUrl $SwaggerfileUrl -Path "conference" -ApiId "conferenceAPI"
 Click for the final PowerShell-code
Conclusion
We used PowerShell to create an instance of API Management. As mentioned above, PowerShell is actually a great tool for working with API Management. But there are lots of other options to choose of when provisioning APIM.
 Sven Malvik


